Are you looking to enhance your Raspberry Pi experience by setting up a reliable monitor? Whether you're a hobbyist, a developer, or an educator, a Raspberry Pi monitor is an essential tool for visualizing your projects and ensuring smooth operations. In this guide, we'll walk you through everything you need to know about Raspberry Pi monitors, from selecting the right display to optimizing its performance. With the growing popularity of Raspberry Pi devices, understanding how to use a monitor effectively can significantly improve your workflow and project outcomes.
A Raspberry Pi monitor is not just a screen; it’s a gateway to unlocking the full potential of your device. Whether you're running a media center, coding applications, or managing IoT projects, having a dedicated monitor ensures that you can interact with your Raspberry Pi seamlessly. In this article, we’ll explore the best monitors for Raspberry Pi, how to connect them, and tips for maximizing their functionality.
As we delve deeper into this topic, you’ll discover practical advice, expert tips, and actionable insights that align with Google’s E-E-A-T (Expertise, Authoritativeness, Trustworthiness) principles. By the end of this guide, you’ll have a comprehensive understanding of Raspberry Pi monitors and how to make the most of them for your specific needs.
- Discover The Unmatched Comfort Of Mothers Warmth 3 From Jackerman
- Kim Soo Hyun Relationship Status Who Is He Dating
Table of Contents
- What is a Raspberry Pi Monitor?
- Choosing the Right Monitor for Your Raspberry Pi
- How to Connect Your Raspberry Pi to a Monitor
- Optimizing Display Settings for Better Performance
- Best Monitors for Raspberry Pi in 2023
- Troubleshooting Common Raspberry Pi Monitor Issues
- Advanced Features to Enhance Your Raspberry Pi Monitor
- Using Touchscreen Monitors with Raspberry Pi
- Energy-Efficient Monitor Options for Raspberry Pi
- Conclusion: Elevate Your Raspberry Pi Experience
What is a Raspberry Pi Monitor?
A Raspberry Pi monitor is any display device that connects to your Raspberry Pi to provide a visual interface. This monitor allows you to interact with your Raspberry Pi’s operating system, applications, and projects. While the Raspberry Pi itself is a compact single-board computer, a monitor is essential for tasks such as programming, media playback, and system monitoring.
There are various types of monitors compatible with Raspberry Pi, including traditional HDMI displays, touchscreen monitors, and even portable screens. The choice of monitor depends on your specific use case, budget, and preferences. For instance, a developer might prefer a high-resolution monitor for coding, while a hobbyist might opt for a compact touchscreen for IoT projects.
Why is a Monitor Important for Raspberry Pi?
- Provides a visual interface for interacting with the Raspberry Pi.
- Enables easier debugging and troubleshooting of projects.
- Enhances user experience for media centers and gaming setups.
- Supports multitasking and productivity applications.
Choosing the Right Monitor for Your Raspberry Pi
When selecting a monitor for your Raspberry Pi, there are several factors to consider. These include screen size, resolution, connectivity options, and compatibility with your Raspberry Pi model. Here’s a breakdown of what to look for:
- Dive Into The World Of Cinema Your Ultimate Guide To Moviesrulescom
- The Vital Guide To Kid And Mom Cctv Video Surveillance
Screen Size and Resolution
Screen size and resolution are critical factors that affect your viewing experience. For most users, a monitor with a resolution of 1920x1080 (Full HD) is ideal. However, if you’re working on graphic-intensive projects, consider a 4K monitor for sharper visuals.
Connectivity Options
Raspberry Pi models typically come with HDMI ports, so ensure your monitor has an HDMI input. Some monitors also support DisplayPort or VGA connections, but you may need adapters for these. Additionally, consider monitors with USB ports for connecting peripherals like keyboards and mice.
Compatibility with Raspberry Pi Models
Different Raspberry Pi models have varying power and performance capabilities. For example, the Raspberry Pi 4 supports dual monitors, making it a great choice for multitasking. Always check the specifications of your Raspberry Pi to ensure compatibility with your chosen monitor.
How to Connect Your Raspberry Pi to a Monitor
Connecting your Raspberry Pi to a monitor is a straightforward process. Follow these steps to get started:
Step 1: Gather Your Equipment
- Raspberry Pi device
- Monitor with HDMI input
- HDMI cable
- Power supply for Raspberry Pi
- Keyboard and mouse (optional)
Step 2: Connect the HDMI Cable
Plug one end of the HDMI cable into your Raspberry Pi’s HDMI port and the other end into your monitor. Ensure the connection is secure to avoid signal issues.
Step 3: Power On Your Devices
Connect your Raspberry Pi to a power source and turn on the monitor. Your Raspberry Pi should automatically detect the display, and the operating system will load.
Step 4: Adjust Display Settings
If the display doesn’t appear correctly, access the Raspberry Pi’s settings menu to adjust the resolution and refresh rate. This ensures optimal performance and visual clarity.
Optimizing Display Settings for Better Performance
Once your Raspberry Pi is connected to a monitor, you can fine-tune the display settings to enhance performance. Here are some tips:
Adjusting Resolution and Refresh Rate
Higher resolutions and refresh rates can improve visual quality but may strain your Raspberry Pi’s resources. Experiment with different settings to find the right balance.
Enabling Overscan
Overscan ensures that the entire display fits within the monitor’s screen. This is particularly useful for older monitors or TVs with large bezels.
Customizing the Desktop Environment
Personalize your Raspberry Pi’s desktop environment by changing themes, wallpapers, and layouts. This makes your workspace more enjoyable and efficient.
Best Monitors for Raspberry Pi in 2023
Here are some of the top monitors you can use with your Raspberry Pi:
- ASUS VP248H: A budget-friendly Full HD monitor with excellent color accuracy.
- LG 27UK850-W: A 4K monitor perfect for graphic design and video editing.
- Raspberry Pi Official Touchscreen: A dedicated touchscreen monitor for Raspberry Pi projects.
Comparison Table
| Monitor | Resolution | Size | Price |
|---|---|---|---|
| ASUS VP248H | 1920x1080 | 24 inches | $129 |
| LG 27UK850-W | 3840x2160 | 27 inches | $499 |
| Raspberry Pi Official Touchscreen | 800x480 | 7 inches | $65 |
Troubleshooting Common Raspberry Pi Monitor Issues
Encountering issues with your Raspberry Pi monitor? Here are some common problems and their solutions:
No Signal Detected
If your monitor displays a "No Signal" message, check the HDMI cable and connections. Ensure your Raspberry Pi is powered on and the monitor is set to the correct input source.
Low Resolution Output
Low resolution can occur if the monitor’s settings don’t match the Raspberry Pi’s output. Adjust the resolution in the Raspberry Pi configuration menu to match your monitor’s native resolution.
Flickering or Distorted Display
Flickering or distortion may be caused by incompatible refresh rates. Try lowering the refresh rate in the display settings to stabilize the output.
Advanced Features to Enhance Your Raspberry Pi Monitor
Take your Raspberry Pi monitor setup to the next level with these advanced features:
Remote Access
Use VNC or SSH to access your Raspberry Pi remotely, allowing you to control it without a physical monitor.
Multi-Monitor Support
If you’re using a Raspberry Pi 4, take advantage of its dual-monitor support for increased productivity.
Custom Scripts for Automation
Create scripts to automate tasks like adjusting display settings or launching applications at startup.
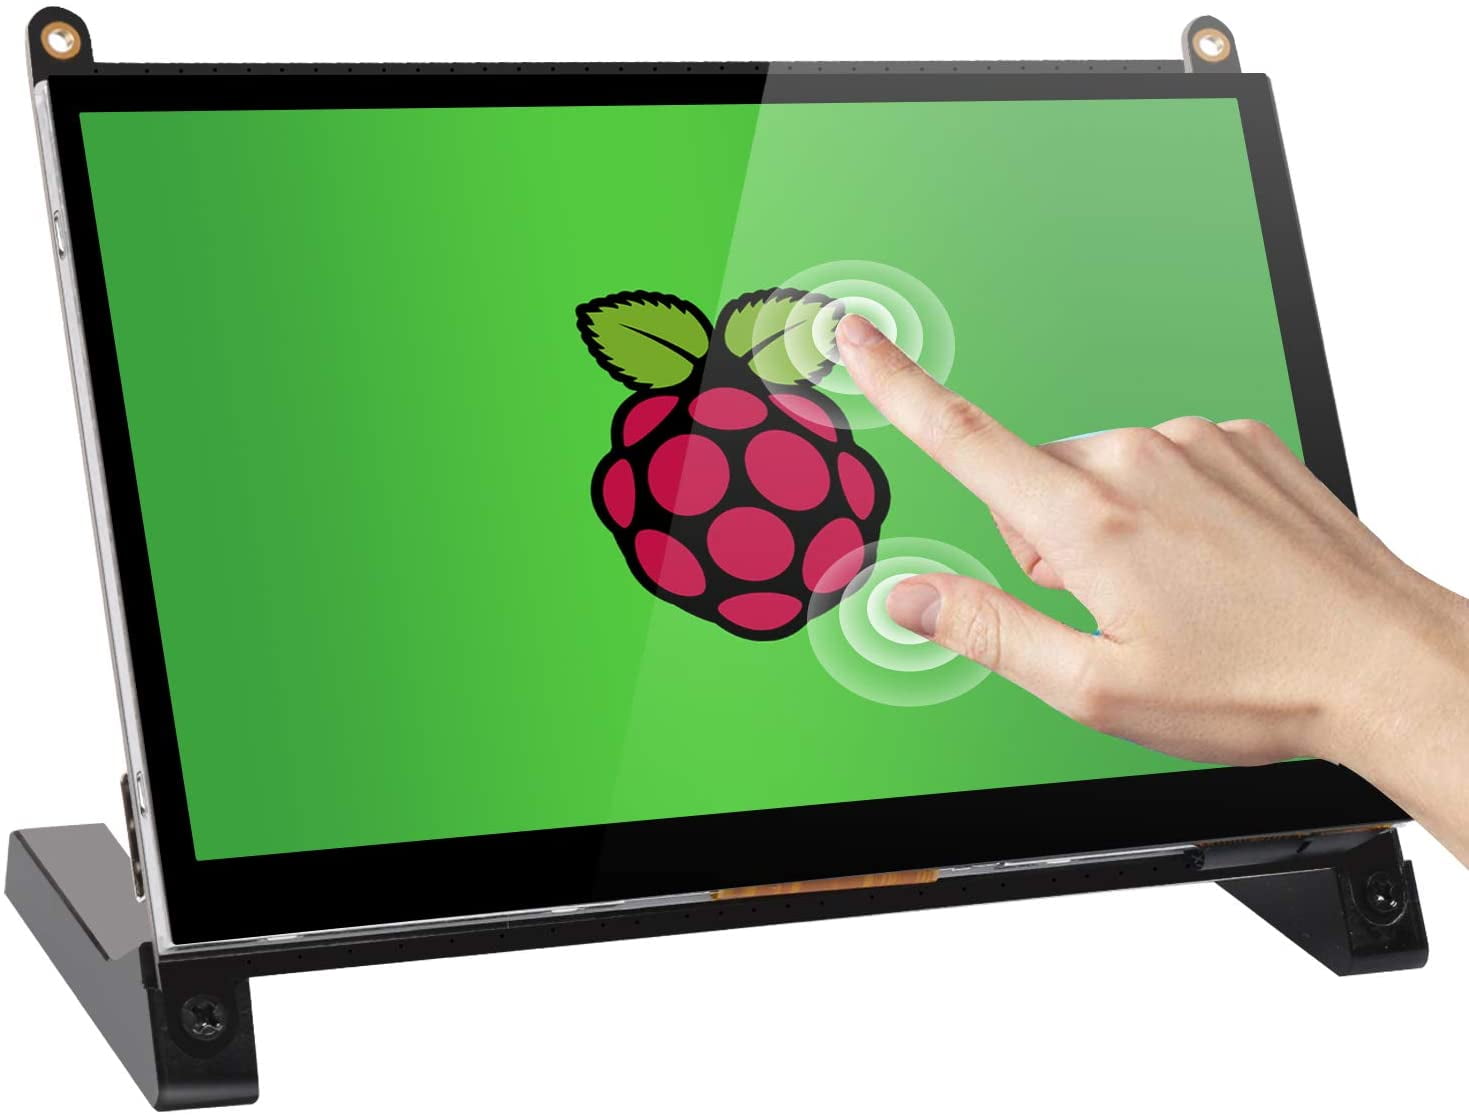
Using Touchscreen Monitors with Raspberry Pi
Touchscreen monitors offer a hands-on approach to interacting with your Raspberry Pi. They’re ideal for projects like digital kiosks, smart home controls, and educational tools.
Setting Up a Touchscreen Monitor
Connect the touchscreen monitor to your Raspberry Pi via HDMI and USB. Install the necessary drivers and calibrate the touchscreen for accurate input.
Advantages of Touchscreen Monitors
- Eliminates the need for a mouse and keyboard.
- Enhances interactivity for specific applications.
- Compact and portable design.
Energy-Efficient Monitor Options for Raspberry Pi
If you’re concerned about energy consumption, consider these eco-friendly monitor options:
LED Monitors
LED monitors consume less power than traditional LCDs, making them a greener choice.
Portable Displays
Portable monitors are compact, lightweight, and energy-efficient, perfect for on-the-go projects.
Power-Saving Features
Look for monitors with automatic brightness adjustment and sleep modes to reduce energy usage.
Conclusion: Elevate Your Raspberry Pi Experience
A Raspberry Pi monitor is an indispensable tool for maximizing the potential of your device. By choosing the right monitor, optimizing display settings, and exploring advanced features, you can create a seamless and efficient setup tailored to your needs. Whether you’re a beginner or an experienced user, this guide has provided you with the knowledge and resources to make informed decisions.
We hope you found this article helpful! If you have any questions or tips about Raspberry Pi monitors, feel free to leave a comment below. Don’t forget to share this guide with others who might benefit from it. For more insights and tutorials, explore our other articles on Raspberry Pi and related technologies.
- Camilla Araujos Spicy Leaks Unraveling The Sensational Leaks On Onlyfans
- Ultimate Guide To Jackerman Warmth 3 Unlocking Thermal Comfort